Managing Rednote Recipients
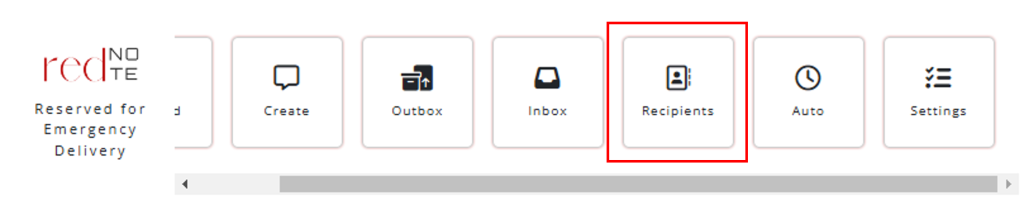
Manage Recipients Page
Within the User Portal, click the Recipients button under the Rednote section menu.
This will open the Manage Rednote Recipients Page.
To CREATE a new recipient, use the Add Recipient button (+).
To VIEW/EDIT existing recipients, click on a recipient name.
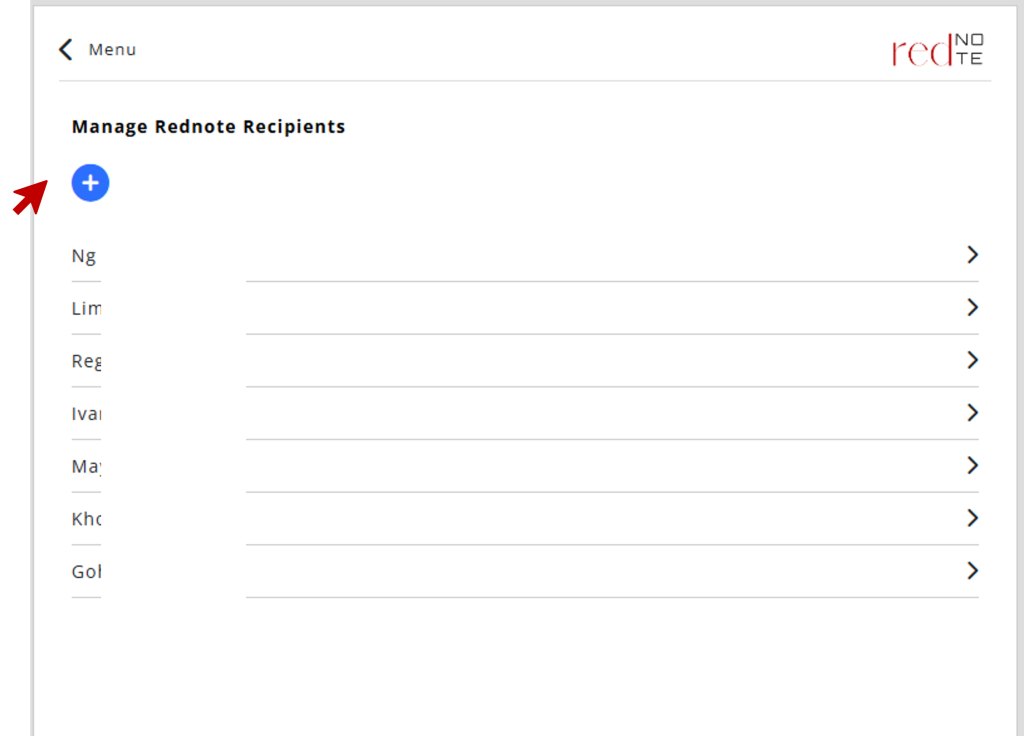
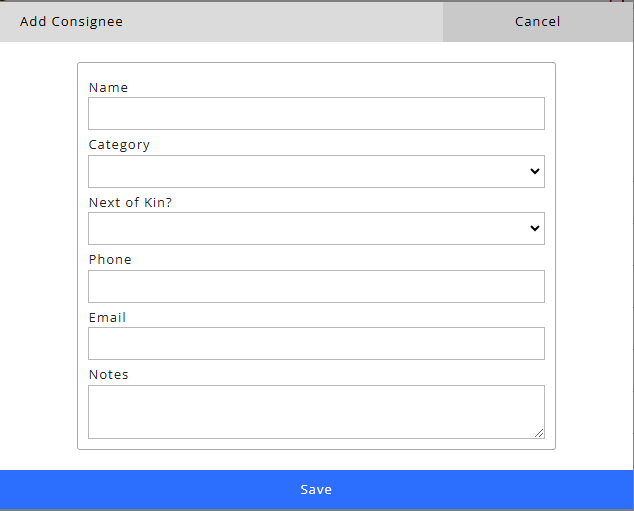
Adding a New Recipient
Enter the Recipient’s Name.
Select Category accordingly.
- Auto Consignment (use for auto consignment creation)
- Manual Consignment (use for manual consignment creation and will be excluded from auto consignments)
Select if recipient IS YOUR NEXT OF KIN?
- We may need to contact your Next of Kin for future delivery verification, especially so if you select “Verify with Next of Kin” as your delivery verification.
- To avoid oversight, we require you to create at least ONE recipient with Next of Kin status before you can create a consignment.
Enter Recipient Phone Number. This will allow us to call the recipient for delivery verification.
Enter Recipient Email. This will be used for pre-notification and also for delivery verification.
Enter Notes: Additional information about the recipient that will help our team to understand recipient preferences, for example:
- My Husband
- Hokkien is the preferred language
- Please whatsapp or SMS before calling
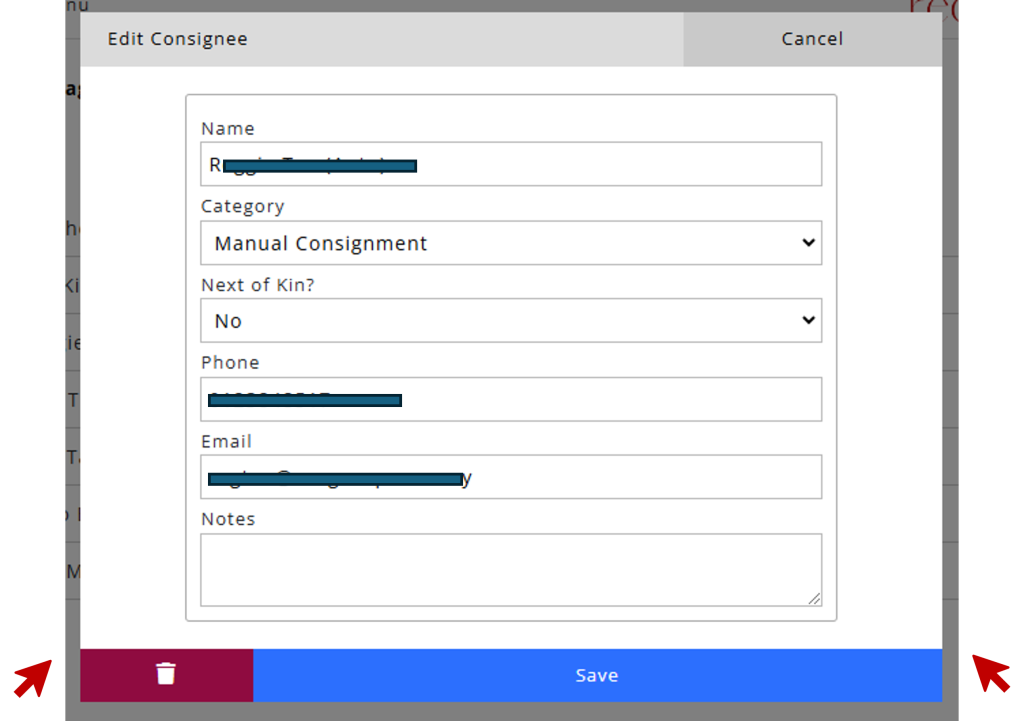
Edit or Delete a Recipient
To EDIT an existing recipient, simply open and make changes to the details accordingly. Remember to SAVE after editing to confirm the changes.
To DELETE the record, use the TRASH CAN button. Confirm deletion to finalize.
